While at Michael's, I had a hair-brained inspiration. I found myself looking at these cake wires and charms by Duff (of Ace of Cakes fame). Man, they are cool. I had no idea how I would use them, especially since I have never decorated a cake in my life. But they were on clearance, they were super fun, and I just knew I could come up with something cool for them.
I walked a few aisles over, and my inspiration grew. See, hanging from the cake wires are little snowflake charms. And I found a set of colorful mini ornaments with white glitter snowflakes painted on them. These were on sale, too. Happy day for me! I snagged them and did a mental inventory of my surplus Christmas decorations. And then I knew. I picked up some snazzy ribbon to complete my project and headed home to work my magic.
And this is the result. I wish the pictures did it justice. It is so sparkly, and colorful, and fun. It is NOT kid-friendly, so Claire will only get to gaze at it from afar, but that's okay. I think it's more for me anyway. :)
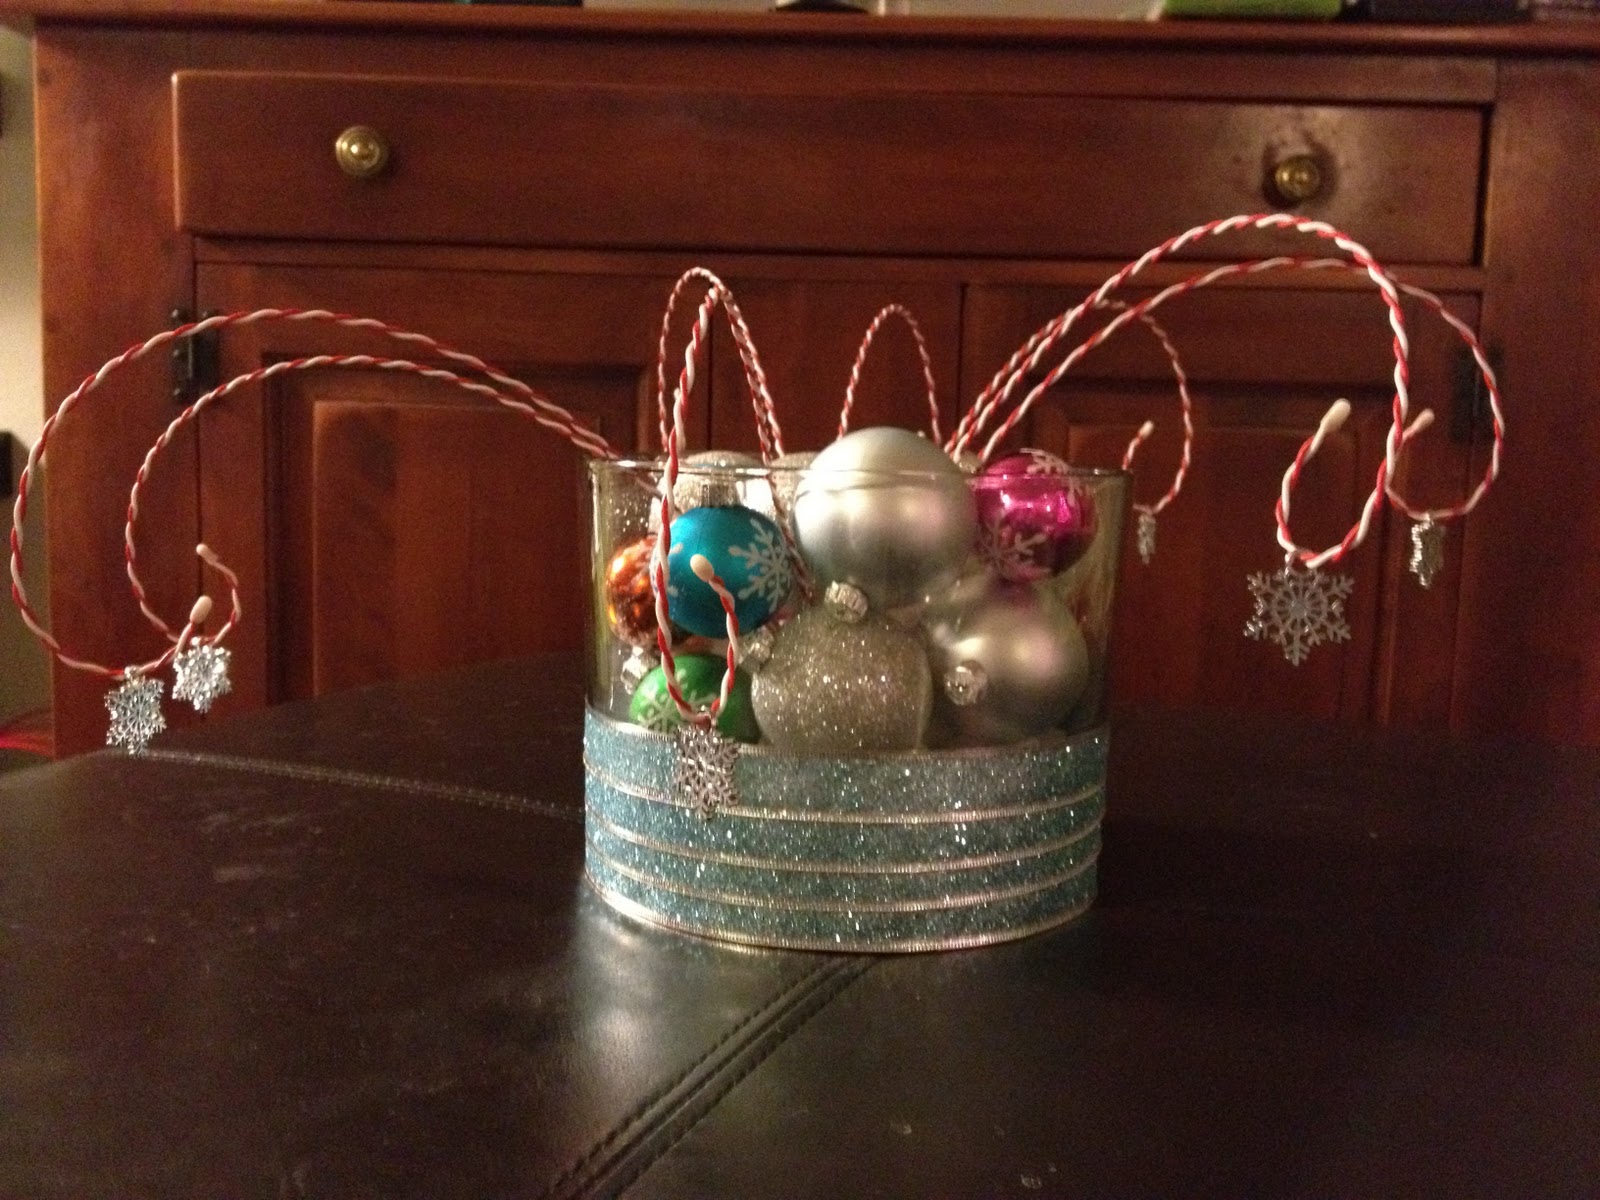


How fun is that?? OK, so let's talk materials and assembly instructions:
- Trifle bowl (from The Pampered Chef, already owned it, absolutely love it)
- Silver matte and glitter ornaments (already owned)
- Small multicolored snowflake ornaments $2.99, on sale at Michael's
- Cake wires and charms $2.99 on clearance at Michael's
- Blue glittery ribbon $1 on sale at Target
- Tape (already owned)
1. Line the bottom of the bowl with foam, glass beads, or in my case, wadded tissue paper to provide support for the cake wires. They're designed to stick in cake, and without support, they flop all over the place and will not stay where you want them.
2. Arrange the bottom layer of ornaments to your liking. I tried to mix mine up as much as possible to space out colors.
3. Insert the cake wires in the center of the bowl. They came with a twisty-tie on the top and bottom. I kept the bottom one on to provide additional support. I then wrapped another wadded piece of tissue paper around the wires like bark on a tree.
4. Continue arranging ornaments until the bowl is full. Then adjust the cake wires until you are happy with their placement.
5. Cut pieces of ribbon long enough to go once around the bowl. The original purpose of the ribbons for me was to cover the tissue paper, so I went with 4 layers. I taped them on the bowl one at a time, slightly overlapping each layer. (I chose tape because this will be sitting on a shelf in my house. If you plan to put this out where all sides will be seen, I suggest using a hot glue gun for the ribbon instead.)
All in all, this took me about 20 minutes to assemble. If you make one of your own, I'd love to see a picture!
Happy almost Friday everyone!
No comments:
Post a Comment